Pagination and infinite scrolling with Rails and the Hotwire stack
04 Feb 2022September 2022 Update: The techniques described in this article still work. However, with the release of Turbo 7.2, there is a simpler approach than the technique used in this article. You can find an updated version of this article here.
Nearly every web application will eventually need to add pagination to improve page load times and allow users to process information in a more consumable way — you don’t want to load 1,000 records in one request!
Today, we are going to use the Hotwire stack (Turbo and Stimulus) to implement pagination in a Ruby on Rails application. We will implement pagination in three different ways, to give ourselves a chance to explore Turbo Frames, Turbo Streams, and Stimulus.
This article was inspired by a conversation on the StimulusReflex discord and the great article by Dale Zak published as a result of that conversation.
In Dale’s article, a purpose-built Stimulus controller is used to respond to a GET request with a Turbo Stream template. After reading that article, I decided to explore another method for achieving the same result, which is what we will tackle today.
In the article, we will start with a simple Rails 7 application, build standard pagination with Pagy, and then layer on three different implementations of Turbo-powered pagination:
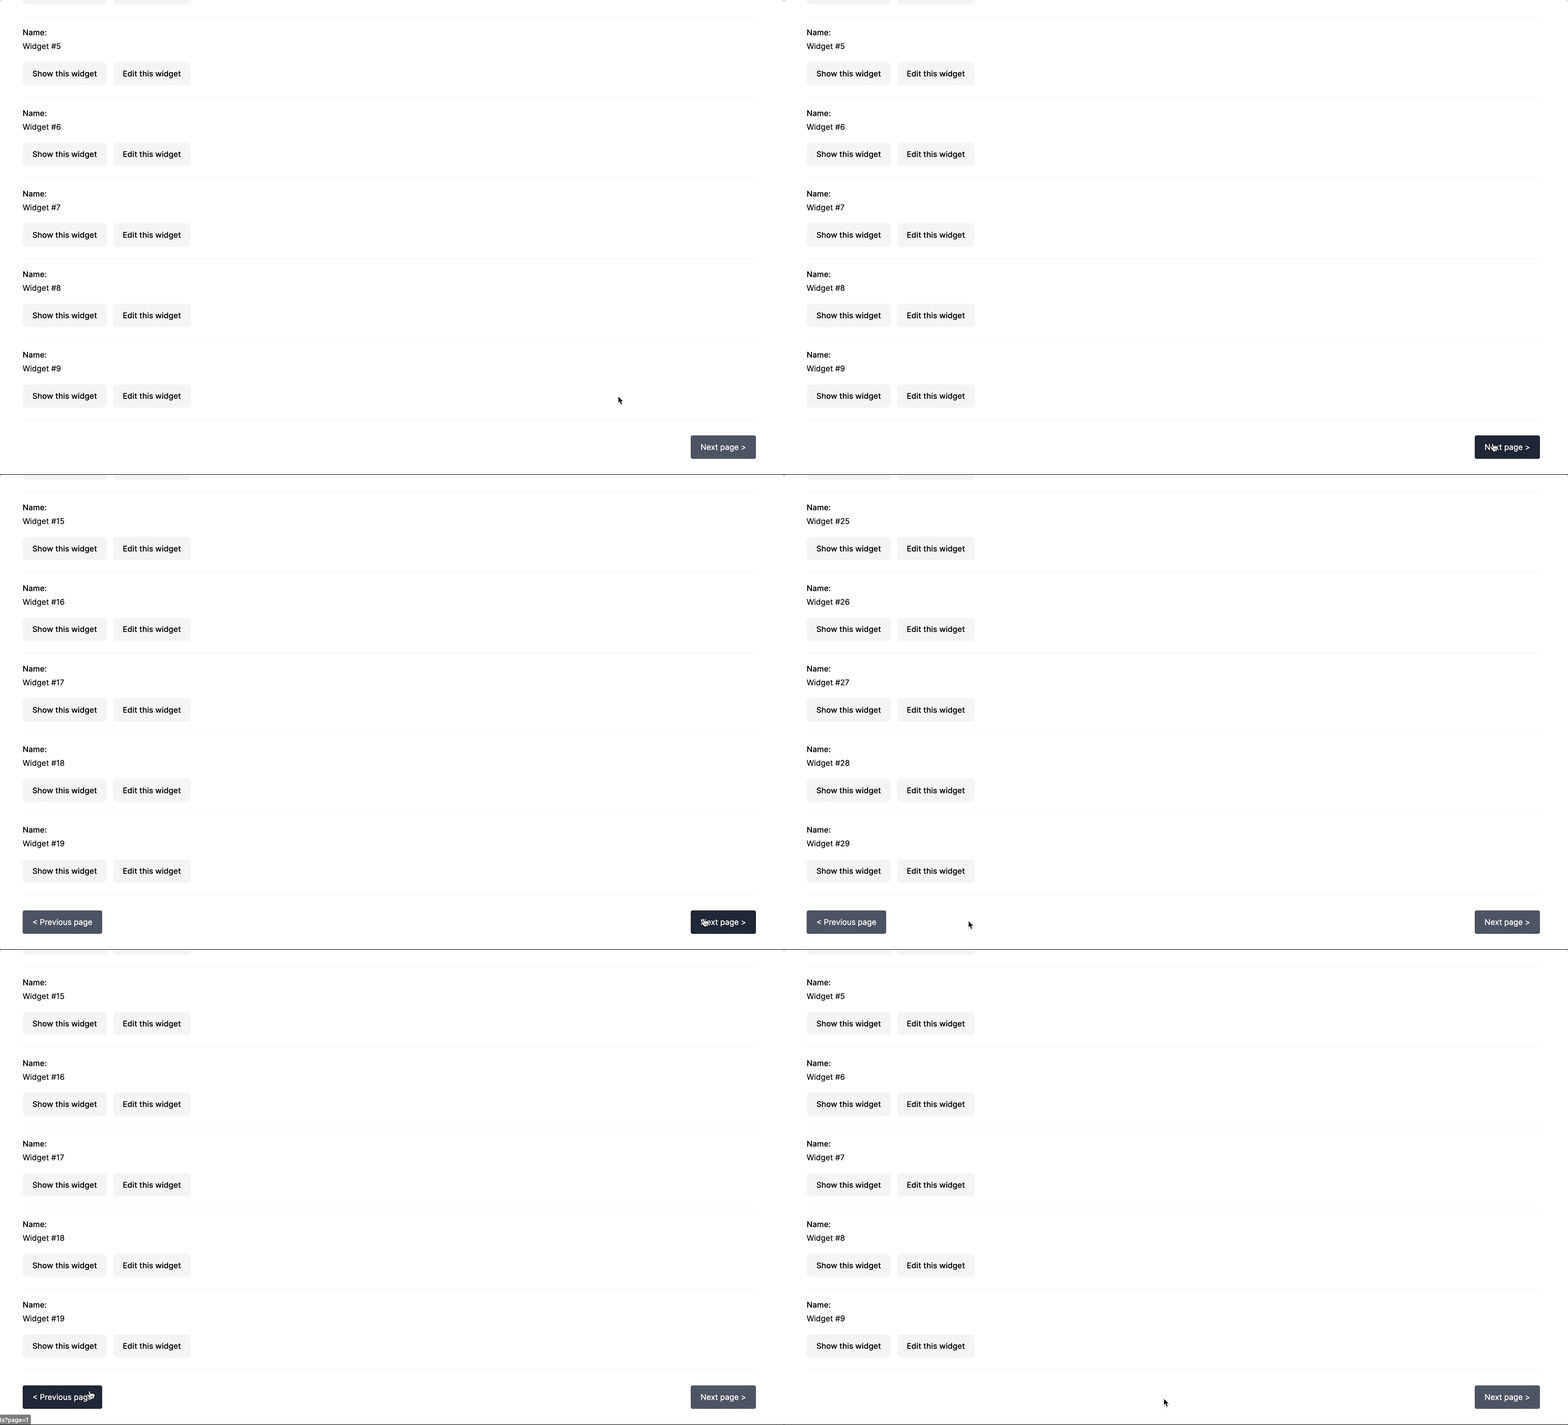
- Pagination with Previous and Next page buttons
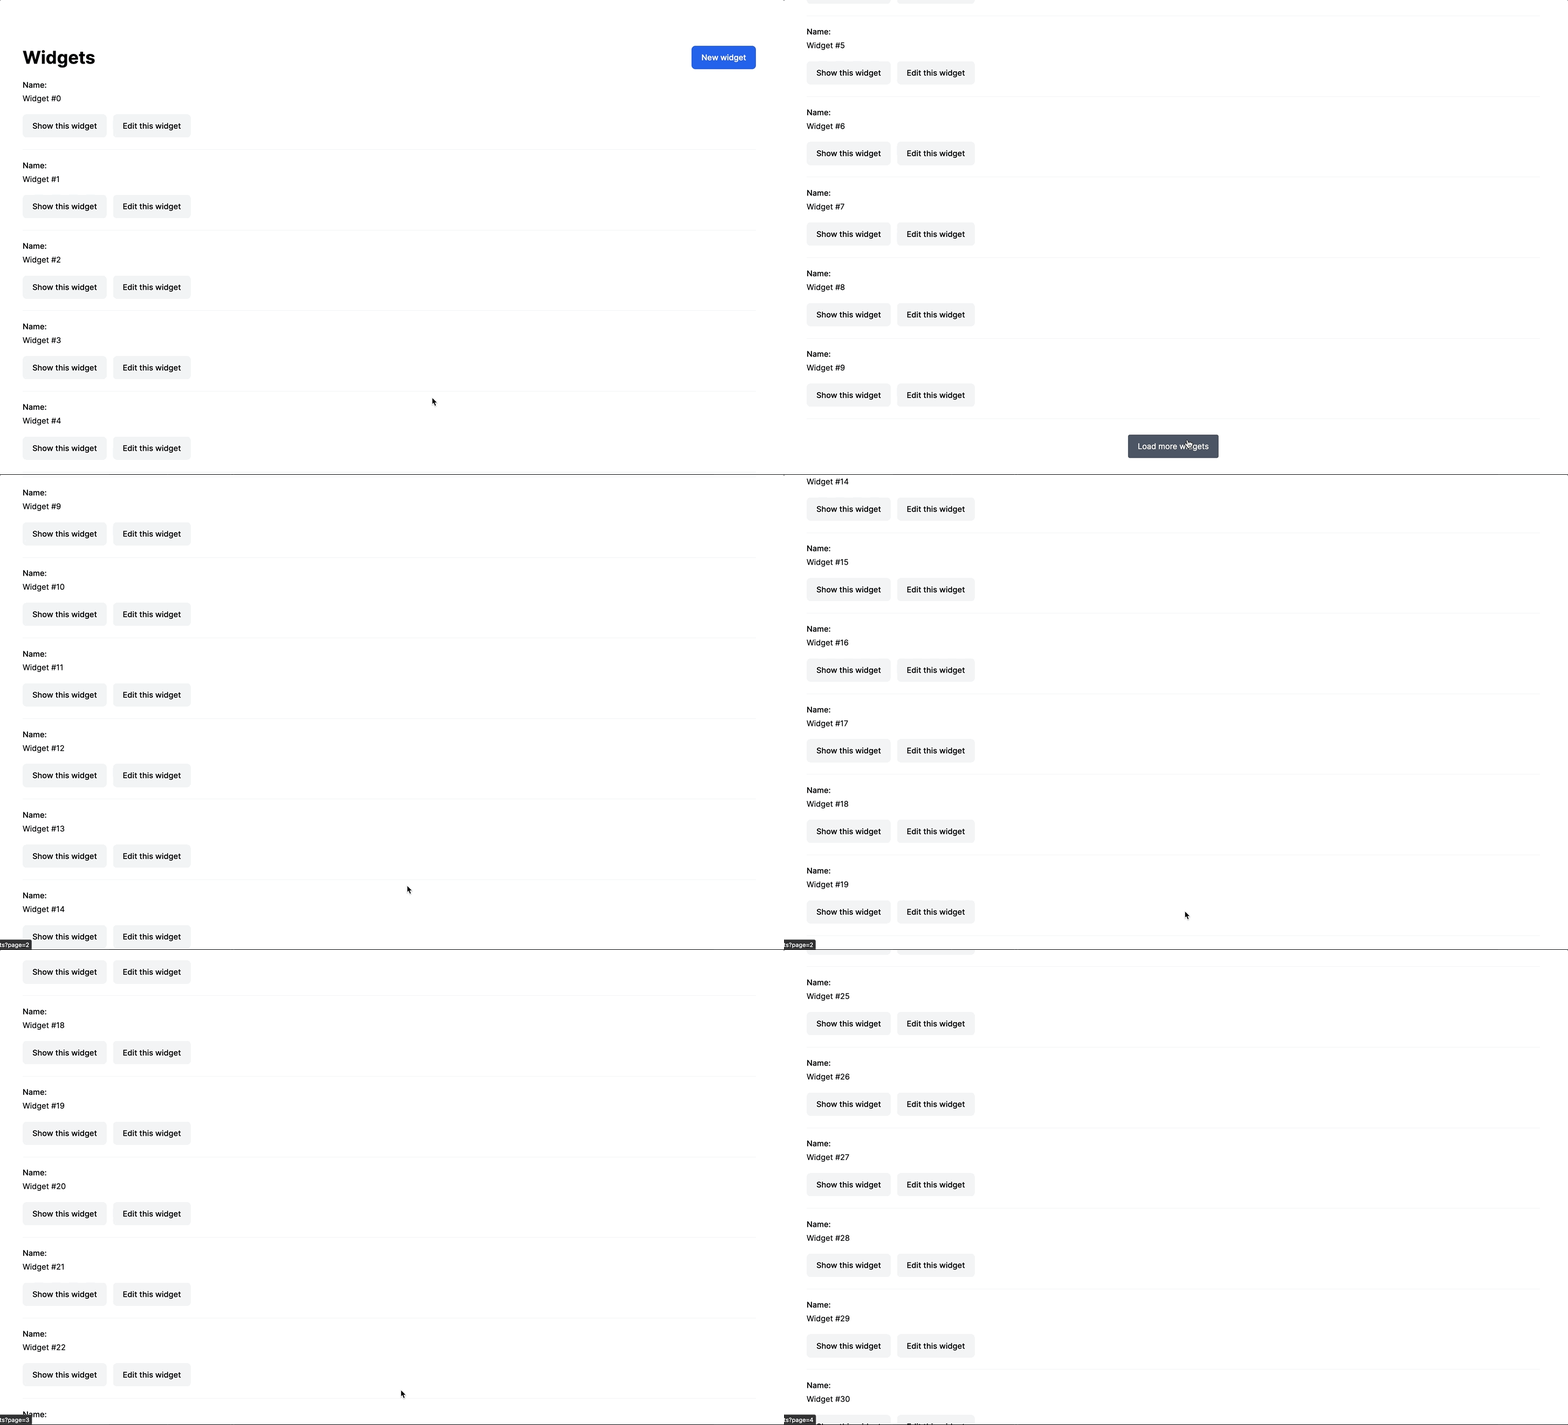
- Manual “infinite scroll” with a load more button
- Automatic infinite scroll
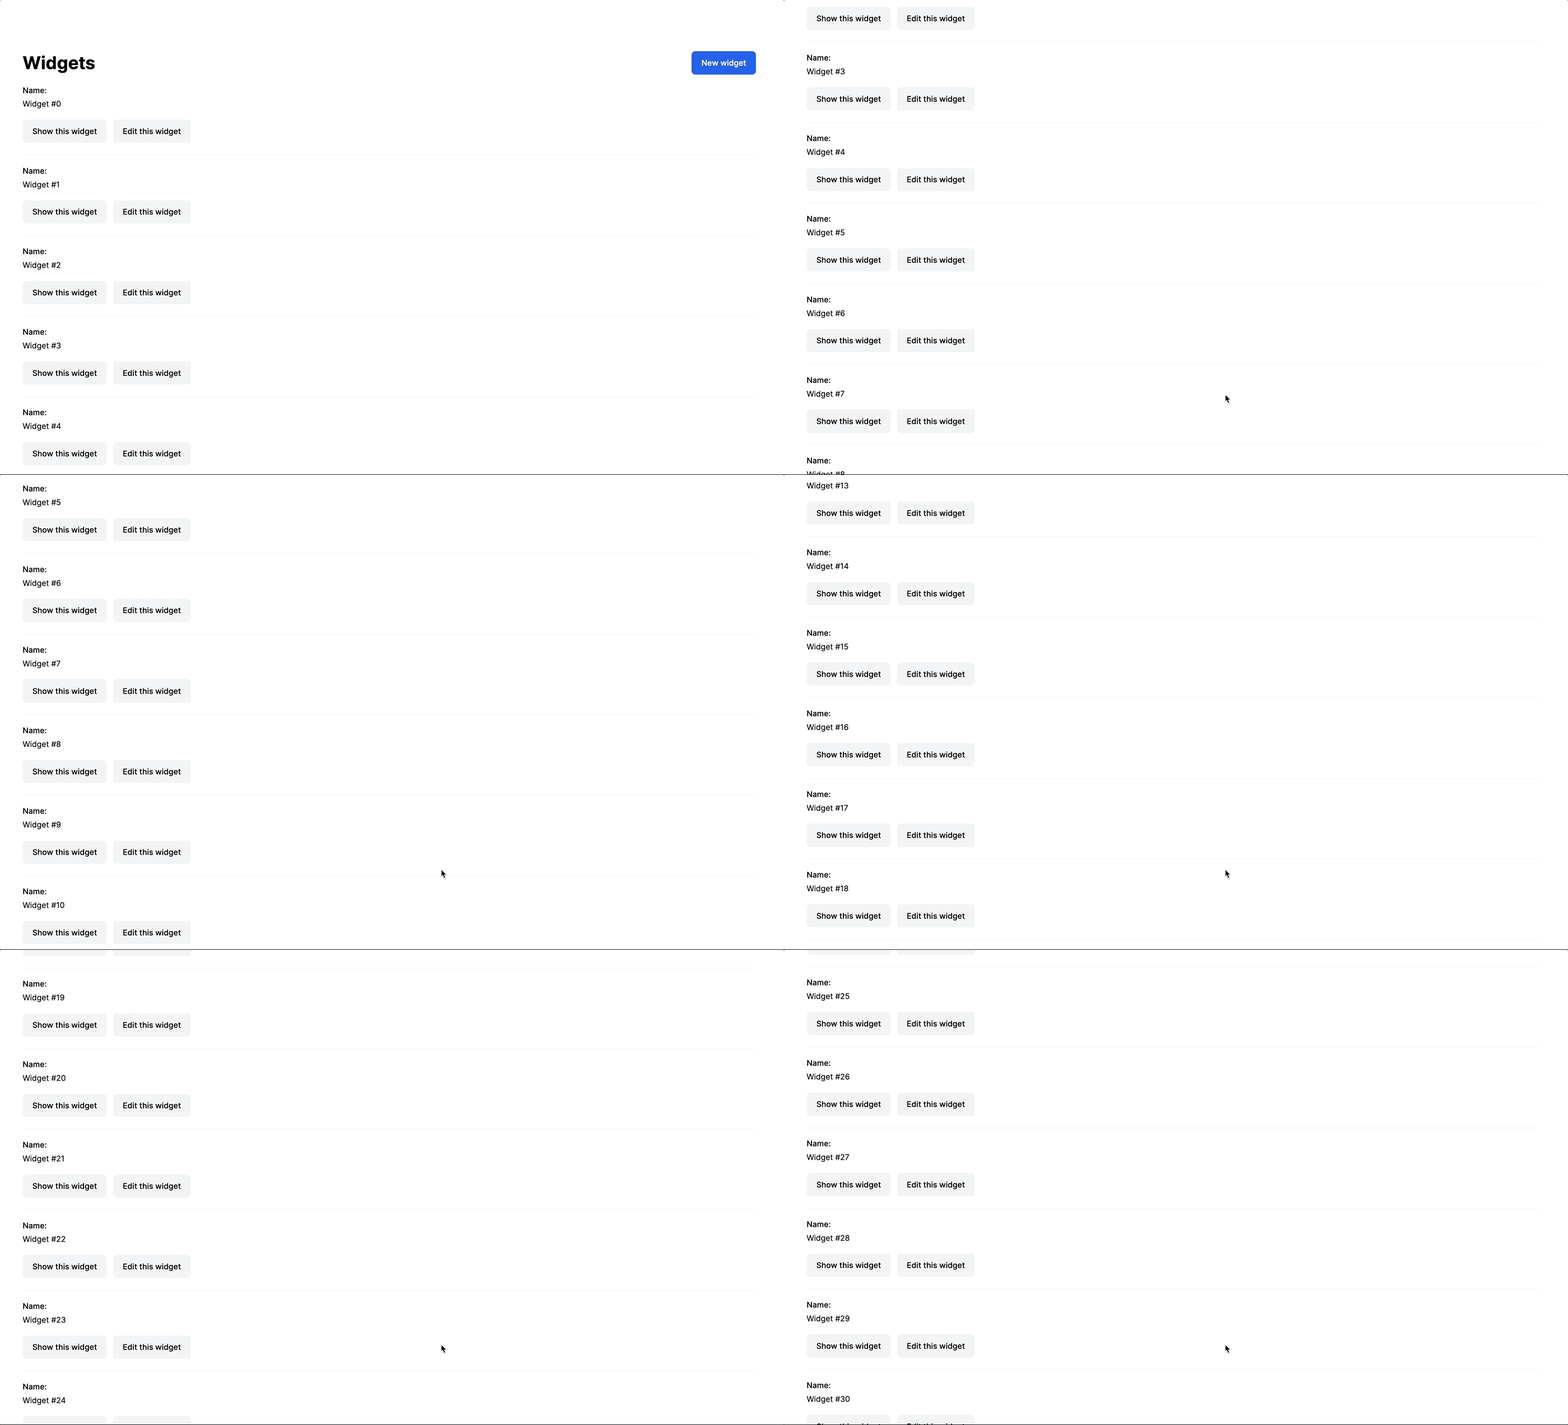
When we are finished, the infinite scroll version will look like this:

Before we begin, this article assumes that you are comfortable with Ruby on Rails and you have had a bit of exposure to Turbo and Stimulus. The techniques described in this article will work without Ruby on Rails, but the code will be easiest to follow if you are comfortable developing simple Ruby on Rails applications.
You can find the complete code for this tutorial on Github, and you can try out a “production” version of the application on Heroku.
Let’s get started!
Application setup
We will work from a new Rails 7 application, using importmap-rails to manage JavaScript and Tailwind for styling.
Create a new Rails 7 application from your terminal:
rails new turbo-pagination --css=tailwind
cd turbo-paginationTo demonstrate pagination, we will create a simple Widget resource. From your terminal again, use the built-in scaffold generator:
rails g scaffold Widget name:string
rails db:migrateBecause we are using Tailwind via the tailwindcss-rails gem, the scaffold generator applies some basic Tailwind styling to generated views, so we have nice looking Widget pages right out of the box.
In order to test pagination as we work, we will need some Widgets in the database. Open your rails console with rails c and add test data to the Widgets table:
50.times do |n|
  Widget.create(name: "Widget ##{n}")
endPagination the old fashioned way
We are going to start by implementing pagination with standard Rails techniques. Each time a user requests a new page, we will load the new page with a full page turn, no Turbo required. Once pagination is working with full-page turns, we will add in Turbo to enhance the experience.
In our application, we will use Pagy to implement pagination. Let’s install Pagy now, following along with the Pagy quick start guide.
From your terminal, add pagy to your Gemfile:
bundle add pagyAdd Pagy’s backend to app/controllers/application_controller.rb:
class ApplicationController < ActionController::Base
  include Pagy::Backend
endAdd Pagy’s frontend helpers to app/helpers/application_helper.rb:
module ApplicationHelper
  include Pagy::Frontend
endWith Pagy installed and ready to use across the application, update app/controllers/widgets_controller.rb to paginate records on the index page:
def index
  @pagy, @widgets = pagy(Widget.all, items: 10)
endAnd then finish up our traditional pagination implementation by adding a simple pager UI to app/views/widgets/index.html.erb:
<div class="w-full">
  <% if notice.present? %>
    <p class="py-2 px-3 bg-green-50 mb-5 text-green-500 font-medium rounded-lg inline-block" id="notice"><%= notice %></p>
  <% end %>

  <div class="flex justify-between items-center">
    <h1 class="font-bold text-4xl">Widgets</h1>
    <%= link_to 'New widget', new_widget_path, class: "rounded-lg py-3 px-5 bg-blue-600 text-white block font-medium" %>
  </div>

  <div id="widgets" class="min-w-full">
    <%= render @widgets %>
  </div>
  <div id="pager" class="min-w-full my-8 flex justify-between">
    <div>
      <% if @pagy.prev %>
        <%= link_to "< Previous page", widgets_path(page: @pagy.prev), class: "rounded py-3 px-5 bg-gray-600 text-white block hover:bg-gray-800" %>
      <% end %>
    </div>
    <div class="text-right">
      <% if @pagy.next %>
        <%= link_to "Next page >", widgets_path(page: @pagy.next), class: "rounded py-3 px-5 bg-gray-600 text-white block hover:bg-gray-800" %>
      <% end %>
    </div>
  </div>
</div>Here, we added the pager div and its contents, with a next and previous page buttons that render when a page exists to navigate to. The prev and next methods used on the links are supplied by pagy.
With this change in place, boot up the rails application with bin/dev and head to http://localhost:3000/widgets and see that widgets are paginated at 10 items per page. Click the next and previous links to move between pages as desired. Notice that each time a paging button is clicked, a full page turn is initiated and the entire content of the page is replaced.

In the next section, we will adjust our paging functionality to update only the widgets list and the pagination buttons, instead of performing a full-page turn on each request.
Navigate pages with Turbo
In this section, we will use a Turbo Frame to update the content of the widgets area with the new page data. Turbo Frames allow us to scope navigation to specific part of the page instead of replacing the entire page with each request.
Scoped navigation with Turbo Frames speeds up requests and allows us to build UIs that feel modern and fast, while continuing to use server-rendered HTML for each request.
To begin, we will wrap the widgets list and the pagination controls in a Turbo Frame. In app/views/widgets/index.html.erb:
<div class="w-full">
  <% if notice.present? %>
    <p class="py-2 px-3 bg-green-50 mb-5 text-green-500 font-medium rounded-lg inline-block" id="notice"><%= notice %></p>
  <% end %>

  <div class="flex justify-between items-center">
    <h1 class="font-bold text-4xl">Widgets</h1>
    <%= link_to 'New widget', new_widget_path, class: "rounded-lg py-3 px-5 bg-blue-600 text-white block font-medium" %>
  </div>

  <%= turbo_frame_tag "widgets", class: "min-w-full" do %>
    <%= render @widgets %>
    <%= render "pager", pagy: @pagy %>
  <% end %>
</div>Here, we replaced the widgets div with a turbo_frame_tag, and moved the pager into that Turbo Frame.
This change means that all link clicks within the widgets Turbo Frame will now expect to receive a matching turbo_frame response from the server. Turbo will then replace the content of that frame with the content supplied by the server, leaving the rest of the page content untouched.
Before this will work, we need to add the pager partial and move the pagination controls into that partial. We don’t technically need to use a partial to render the pagination controls, but it helps keep the index page readable.
From your terminal:
touch app/views/widgets/_pager.html.erbAnd then move the paging controls into the new pager partial:
<div id="pager" class="min-w-full my-8 flex justify-between">
  <div>
    <% if pagy.prev %>
      <%= link_to(
        "< Previous page",
        widgets_path(page: pagy.prev),
        class: "rounded py-3 px-5 bg-gray-600 text-white block hover:bg-gray-800",
        data: {
          turbo_action: "advance"
        }
      ) %>
    <% end %>
  </div>
  <div class="text-right">
    <% if pagy.next %>
      <%= link_to(
        "Next page >",
        widgets_path(page: pagy.next),
        class: "rounded py-3 px-5 bg-gray-600 text-white block hover:bg-gray-800",
        data: {
          turbo_action: "advance"
        }
      ) %>
    <% end %>
  </div>
</div>The content here is nearly identical to what was previously in the index page. The only change is the addition of a new data-turbo-action data attribute on each link.
By default, when navigating within a Turbo Frame, the page URL does not change. Normally, this is correct behavior navigation within a Turbo Frame, but in our case it is not.
When a user moves from page one to page two, they expect to be able to refresh the page and stay on page two and to be able to use the back button in their browser to get back to page one.
The advance value for the data-turbo-action attribute tells Turbo to update the current URL and insert the previous page URL into the browser’s history, retaining the intuitive forward, back, and refresh behavior users expect.
At this point, refresh /widgets and see that clicking the Previous and Next page buttons correctly updates the content of the widgets frame. When you do this, you will notice one issue — navigating between pages does not update the user’s scroll position. They have to manually scroll back up to the top of the list to see the results.

We can fix this issue by updating the widgets Turbo Frame in the widgets index view:
<%= turbo_frame_tag "widgets", class: "min-w-full", autoscroll: "true" do %>The autoscroll attribute tells Turbo to scroll the frame into view when the frame is loaded, automatically scrolling us back up to the top of the frame when a new page is loaded.
Nice work so far! We now have standard pagination implemented, powered by Turbo Frames. In the next section, we’ll transition to a manual version of an infinite scroll experience.
Manual “infinite scroll”
The first version of “infinite scroll” in our application will replace the Next and Previous pagination controls with a single load more button. When the user clicks this button, we will fetch the next page of widgets from the server, append them to the existing list of widgets, and update the load more button to prepare to fetch the next set of records.
The major functional change is that instead of replacing the content of the widgets list with entirely new content, we need to keep the current widgets in the list and add the new widgets to the end of the list.
This change will introduce us to a limitation of Turbo Frames. Today, navigation within a Turbo Frame always replaces the entire content of the Frame with new content. There is no concept of appending content using Turbo Frames — its replace or nothing.
This means that to implement an infinite scroll experience, we need to reach for Turbo Streams. In contrast to Turbo Frames, which always replace the target content, Turbo Streams can replace, remove, append, and prepend content as desired.
Our goal is to use the pagination controls to retrieve new widgets from the server and then append those widgets to the existing list with Turbo Streams. When we are finished, our server will render turbo-stream elements as HTML, which Turbo will use to update the widgets list and the pagination controls without touching the rest of the page.
To complicate matters a bit, Turbo expects Turbo Streams to be used with non-GET requests (like form submissions). There is no built-in way to render a Turbo Stream in response to a GET request, like the requests generated by clicks on our pagination controls.
One way to work around this is described in Dale’s article. In it, a Stimulus controller and request.js are used to insert a Turbo Stream header into GET requests, getting Turbo to see the request as a Turbo Stream request despite not originating from a form submission.
The approach is Dale’s article is a completely valid way to solve the problem and it works quite well. However, we are going to use a different method to reach the same destination. Our approach will use a not-obvious but built-in Turbo behavior to get a Turbo Stream response without modifying headers.
Whew. Let’s look at some code.
To start, we need an empty Turbo Frame. Update app/views/widgets/index.html.erb like this:
<div class="w-full">
  <% if notice.present? %>
    <p class="py-2 px-3 bg-green-50 mb-5 text-green-500 font-medium rounded-lg inline-block" id="notice"><%= notice %></p>
  <% end %>

  <div class="flex justify-between items-center">
    <h1 class="font-bold text-4xl">Widgets</h1>
    <%= link_to 'New widget', new_widget_path, class: "rounded-lg py-3 px-5 bg-blue-600 text-white block font-medium" %>
  </div>

  <%= turbo_frame_tag "page_handler" %>
  <div id="widgets" class="min-w-full">
    <%= render @widgets %>
  </div>
  <%= render "pager", pagy: @pagy %>
</div>Here, we added a page_handler Turbo Frame with no content inside and we removed the widgets Turbo Frame, which we no longer need.
This empty page_handler frame will be the messenger that sneaks our Turbo Stream content in from the server, no header modification required.
To see this in action, update the pager partial to remove the old pagination controls and replace them with a single load more link:
<div id="pager" class="min-w-full my-8 flex justify-center">
  <div>
    <% if pagy.next %>
      <%= link_to(
        "Load more widgets",
        widgets_path(page: pagy.next),
        class: "rounded py-3 px-5 bg-gray-600 text-white block hover:bg-gray-800",
        data: {
          turbo_frame: "page_handler"
        }
      ) %>
    <% end %>
  </div>
</div>Notice the load more link is targeting the page_handler Turbo Frame, informing Turbo that clicks on that link should replace the content of the page_handler frame, instead of navigating the entire page. Because the load more link is not nested within the page_handler frame, we need this attribute to target that frame.
Now we have pagination controls targeting an empty Turbo Frame, but clicking on the link will just re-render app/views/widgets/index.html.erb with an empty page_handler frame. That’s not very useful.
To make this work, we need to update our controller to enable turbo_frame variants, so that we can render different content from the index action in response to a Turbo Frame request.
In app/controllers/application_controller.rb:
class ApplicationController < ActionController::Base
  include Pagy::Backend

  before_action :turbo_frame_request_variant

  private

  def turbo_frame_request_variant
    request.variant = :turbo_frame if turbo_frame_request?
  end
endHere we are using a turbo-rails method, turbo_frame_request?, to identify inbound Turbo Frame requests. When the inbound request is a Turbo Frame, we tell our controller to respond with a turbo_frame variant instead of the normal html.erb content.
To see this in action, create the new Turbo Frame variant for the index action. From your terminal:
touch app/views/widgets/index.html+turbo_frame.erbAnd then fill the new view in:
<%= turbo_frame_tag "page_handler" do %>
  <%= turbo_stream_action_tag(
    "append",
    target: "widgets",
    template: %(#{render @widgets})
  ) %>
  <%= turbo_stream_action_tag(
    "replace",
    target: "pager",
    template: %(#{render "pager", pagy: @pagy})
    ) %>
<% end %>Here, we respond with a page_handler Turbo Frame because Turbo expects us to render content for that frame when the load more link is clicked.
Inside of that Turbo Frame is where the magic happens. We first render a Turbo Stream that appends the @widgets to the existing list of widgets (using the widgets id). Then we render another Turbo Stream to replace the content of the pager div with an updated version of the pager.
Now, when the user clicks the load more link, a Turbo Frame request is sent to the /widgets, Rails sees the index.html+turbo_frame.erb view and responds with the content of that view, rendered as plain HTML.
Turbo then sees the response on client-side, “replaces” the content of the page_handler Turbo Frame tag with the two turbo-stream elements, and then processes the actions defined in those turbo-streams. The end result is a new set of widgets appended to the list, and a load more button updated to fetch the next page of results.
See this in action by heading to the widgets index page and clicking the load more button. If all has gone well, each click of the load more button will append more widgets to the list and increment the page number each time.

Note that the Turbo Frame + Turbo Stream technique we used here was originally found on the Turbo discussion forums — the folks there figured it out, I’m just building on their great work.
Now we have a manual “infinite scroll” experience in place. Let’s finish this article by using Stimulus to fetch new widgets automatically as the user scrolls down the page.
Automatic infinite scroll
Our infinite scroll experience will be powered by a Stimulus controller and will rely on the IntersectionObserver API to fetch new widgets automatically as the user scrolls the page.
To make using the IntersectionObserver API easier, we will add the wonderful stimulus-use package to our application. This is not a requirement, but it does simplify the code a bit.
From your terminal:
bin/importmap pin stimulus-useWe also need a Stimulus controller to add the automatic fetch behavior to the DOM as the user scrolls. Again from your terminal, generate a new Stimulus controller:
rails g stimulus autoclickFill in the new Stimulus controller at app/javascript/controllers/autoclick_controller.js:
import { Controller } from "@hotwired/stimulus"
import { useIntersection } from 'stimulus-use'

export default class extends Controller {
  options = {
    threshold: 1
  }

  connect() {
    useIntersection(this, this.options)
  }

  appear(entry) {
    this.element.click()
  }
}This controller pulls in the useIntersection from stimulus-use. The appear function is triggered when the element the controller is attached scrolls into view in a user’s browser. appear simply calls click() on the element the controller is attached to.
To use this controller, update the pager partial:
<div id="pager" class="min-w-full my-8 flex justify-center">
  <div>
    <% if pagy.next %>
      <%= link_to(
        "Load more widgets",
        widgets_path(page: pagy.next),
        class: "rounded py-3 px-5 bg-gray-600 text-white block hover:bg-gray-800",
        data: {
          turbo_frame: "page_handler",
          controller: "autoclick"
        }
      ) %>
    <% end %>
  </div>
</div>Here, we added data-controller="autoclick" to the load more link. With this change in place, each time the load more link is scrolled into view, the Stimulus controller will programmatically click the load more link. Each time this occurs, a Turbo Frame request to the index action is fired to fetch and append the next set of widgets.

The autoclick controller we are using here was lightly adapted from Sean Doyle’s autoclick controller in his own implementation of infinite scrolling with Turbo.
Sean’s implementation of infinite scrolling presents yet another approach to working around the limits of Turbo Frames and is worth reviewing in full, if you are interested in more advanced Turbo use cases. In Sean’s work, the key thing to note is his use of the code from this Turbo draft PR which adds additional “actions” to Turbo Frames.
If you plan to use an approach like this one in a production application: A reader surfaced that the infinite scrolling technique we use in this book does not work reliably on Firefox for Android. Those users have to click the Load More button manually to load new records.
That’s all for this tutorial, great work following along!
Wrapping up
Today we implemented multiple pagination styles in a Rails 7 application with Turbo Frames, Turbo Streams, and Stimulus. While building pagination, we got to see a couple of useful, more advanced uses of Turbo Frames in Rails:
- Rendering Turbo Frame variants to respond with different content in response to Turbo Frame requests
- Rendering Turbo Streams inside of empty Turbo Frame tags to use Turbo Streams in response to GET requests
These types of techniques dramatically expand the usefulness of Turbo without adding significant complexity to your code, and are helpful tools to add to your Turbo kit.
The very smart folks on the StimulusReflex discord inspired this article, and the excellent work done by Dale Zak and Sean Doyle served as a great foundation to build on.
This article is intended to serve as a supplement to their work, presenting alternative approaches to help expand the set of tools we have to work with in Turbo.
That’s all for today. As always, thanks for reading!