11 Feb 2022
When Rails 7 released in December, Turbo became a default component of all new Ruby on Rails applications. This was an exciting moment for Rails developers that want to use Rails full-stack — especially folks on small teams with limited resources to pour into building and maintaining a React or Vue frontend.
Along with that excitement has come a constant stream of developers trying to learn how Turbo works, and how to integrate it into their Rails applications successfully.
For many, that learning journey has included a lot of roadblocks — Turbo requires some changes to how you structure applications and the official documentation is not yet as detailed as it could be. The good news is, most folks hit the same roadblocks early on their journey, which means we can help folks faster by addressing the common points of confusion.
In particular, there is confusion about how to use Turbo Frames and Turbo Streams together, and confusion about how Turbo Streams work.
Today, we are going to build a simple todo list application, powered entirely by Turbo. While building, we will take a few detours to look more deeply at a few common Turbo behaviors, and we will directly address two of the most common misconceptions that I see from folks who are brand new to using Turbo in their Rails applications.
When we are finished, our application will work like this:
This tutorial is written for Rails developers who are brand new to Turbo. The content is very much Turbo 101 and may not be useful if you are already comfortable working with Turbo Frames and Turbo Streams. This article also assumes comfort with writing standard CRUD applications in Rails — if you are have never used Rails before, this is not the right place to start!
As usual, you can find the complete code for our demo application on Github.
Let’s start building!
Read the rest
37-minute read
04 Feb 2022
September 2022 Update: The techniques described in this article still work. However, with the release of Turbo 7.2, there is a simpler approach than the technique used in this article. You can find an updated version of this article here.
Nearly every web application will eventually need to add pagination to improve page load times and allow users to process information in a more consumable way — you don’t want to load 1,000 records in one request!
Today, we are going to use the Hotwire stack (Turbo and Stimulus) to implement pagination in a Ruby on Rails application. We will implement pagination in three different ways, to give ourselves a chance to explore Turbo Frames, Turbo Streams, and Stimulus.
This article was inspired by a conversation on the StimulusReflex discord and the great article by Dale Zak published as a result of that conversation.
In Dale’s article, a purpose-built Stimulus controller is used to respond to a GET request with a Turbo Stream template. After reading that article, I decided to explore another method for achieving the same result, which is what we will tackle today.
In the article, we will start with a simple Rails 7 application, build standard pagination with Pagy, and then layer on three different implementations of Turbo-powered pagination:
- Pagination with Previous and Next page buttons
- Manual “infinite scroll” with a load more button
- Automatic infinite scroll
When we are finished, the infinite scroll version will look like this:
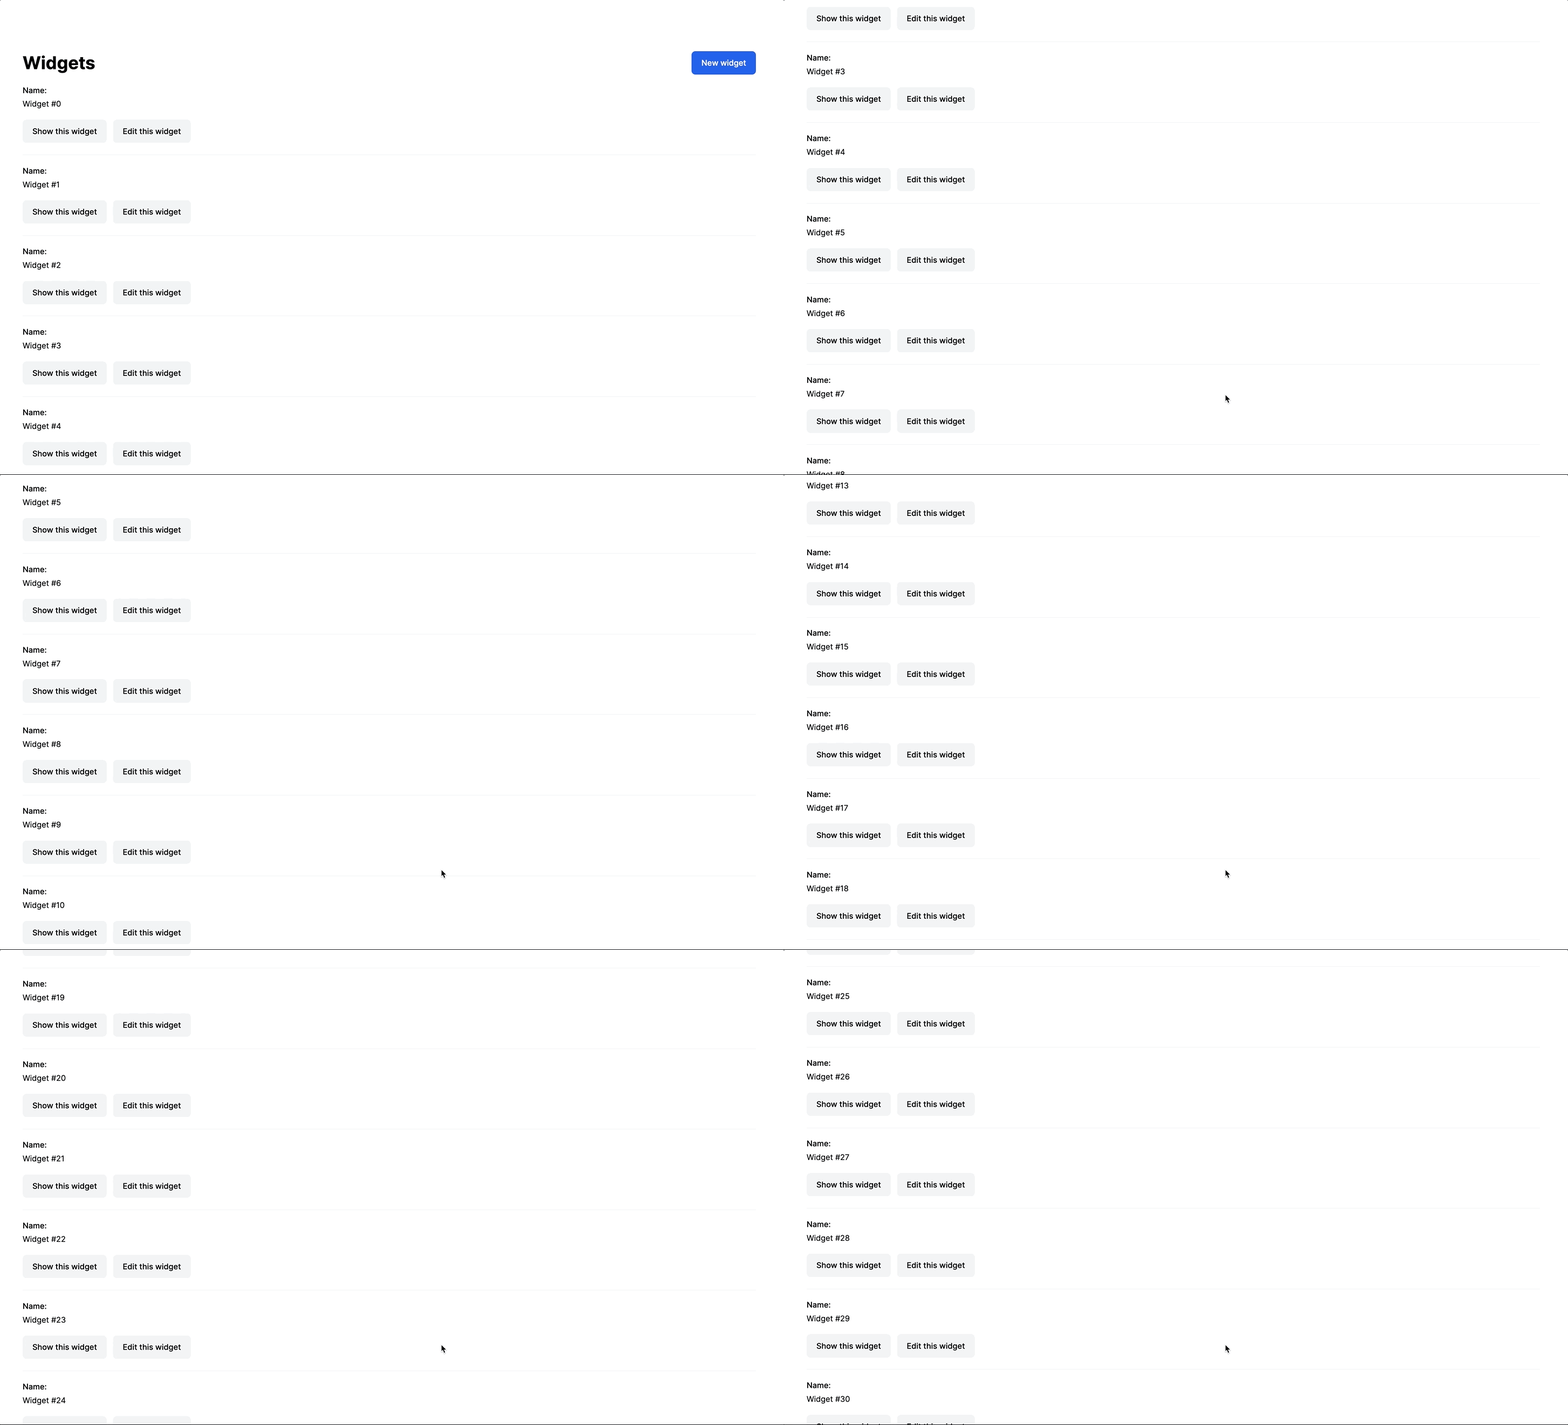
Before we begin, this article assumes that you are comfortable with Ruby on Rails and you have had a bit of exposure to Turbo and Stimulus. The techniques described in this article will work without Ruby on Rails, but the code will be easiest to follow if you are comfortable developing simple Ruby on Rails applications.
You can find the complete code for this tutorial on Github, and you can try out a “production” version of the application on Heroku.
Let’s get started!
Read the rest
24-minute read
03 Feb 2022
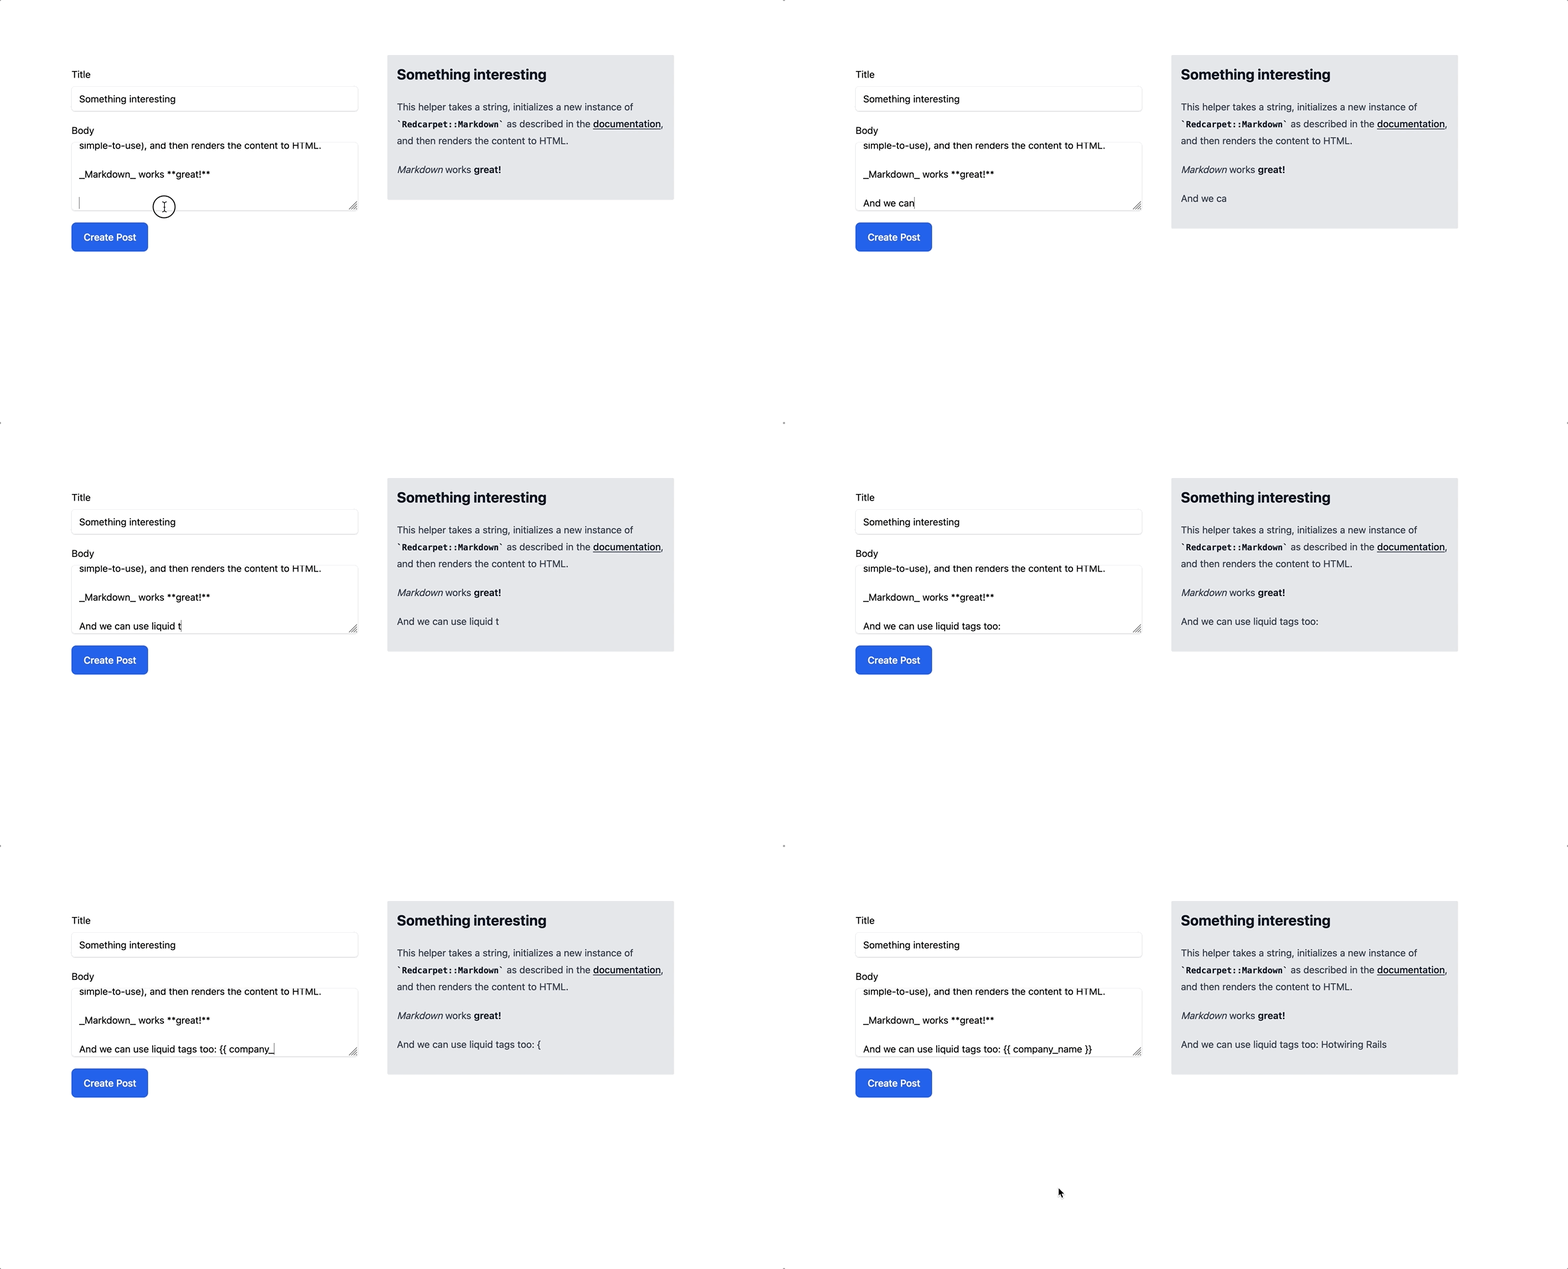
Today we are going to build a live, server-rendered, liquid-enabled markdown previewer with Ruby on Rails and StimulusReflex. It’ll be pretty neat.
Allowing users to preview their content before saving it is a common need in web applications — posts, products, emails. Any user-created content that gets turned into HTML can benefit from a preview function to help users check their work before they save it.
Our StimulusReflex-powered previewer will parse user-generated markdown on the server, insert dynamic content with liquid, and update the DOM in ~100ms, fast enough that the preview feels instant.
When our work is done, the end product will look like this:
If you’d like to try out the previewer in a production environment, you can try it out on Heroku. The demo application is hosted on Heroku’s free tier so expect a delay on the first page load!
Before diving in, this tutorial assumes a basic level of Rails knowledge. If you have never written Rails before, this tutorial may not be for you. You do not need any prior experience with Stimulus or StimulusReflex to follow along — in fact, this tutorial will be most useful to you if you are new to StimulusReflex and curious about how it can help you build great experiences faster.
Let’s get started!
Read the rest
28-minute read